HTML Editor extensions for MovableType
Helping you to build MovableType sites in your
favorite HTML editors faster and more efficiently!
Download
Mailing List
Using It
How it works
Credits
 Download the .mxp file (the packaged version) and double click on it.
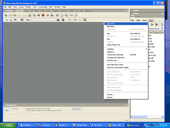
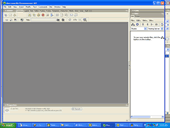
It should bring up the extension manager, which looks like this screenshot
to the right. By default, it should install the package before it brings
up this screen. (Uninstalling is simple as well. Just uncheck the box
next to this package in the Extension Manager and you're rid of me. (As
PJ Harvey would say) To completely delete the package, click on it and
hit the trash can icon.
If you're interested in rebuilding the package from source, there's a Makefile. See the HOW IT WORKS section for more info on this topic, as well as a general explanation of how this whole concept works.
WHAT ELSE DO I DO TO MAKE IT EASIER TO DEVELOP MOVABLETYPE TEMPLATES IN DREAMWEAVER?There's really only a few steps more. This
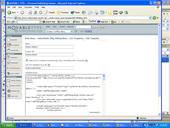
diagram should help you understand our goal.
- Step 1: Link your templates
-
 You
first want to link your templates to actual files. That way you can
get to them from Dreamweaver. Go into MT's admin area and tie each
template to a file. For each template that you want to edit in Dreamweaver,
fill in a filename in the space labeled, "Link this template to a
file". Now, rebuild your site.
You
first want to link your templates to actual files. That way you can
get to them from Dreamweaver. Go into MT's admin area and tie each
template to a file. For each template that you want to edit in Dreamweaver,
fill in a filename in the space labeled, "Link this template to a
file". Now, rebuild your site.Example: if one of my templates is "index.html", I tie it to a file called "index.tpl.html". I never edit the actual "index.html", because that will be overwritten the minute I rebuild the site.
- Step 2: Configure Dreamweaver
-
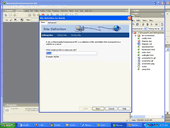
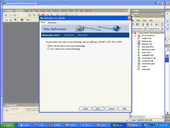
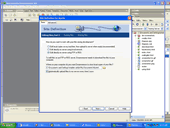
Now you're ready to start editing. Startup Dreamweaver and configure a new site using FTP to "edit directly on the server using FTP. When you've connected and hit refresh you'll see the list of files in your MovableType files. Remember, only edit the source files. In my example, that's the ones with the .tpl.html on the end. If you edit the files that MovableType creates (such as index.html), you'll lose your changes in Step 3.
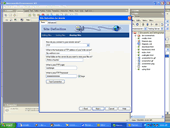
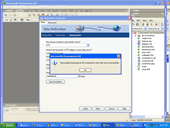
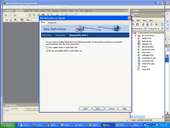
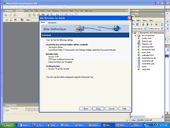
I've included screenshots below of how you should configure Dreamweaver to edit directly through FTP.
- Step 3: Rebuild your site
-
Now that you've made your edits, login to your MovableType backend and hit the Rebuild option. This will rebuild your site from the templates. You should see the fruits of your labor!
